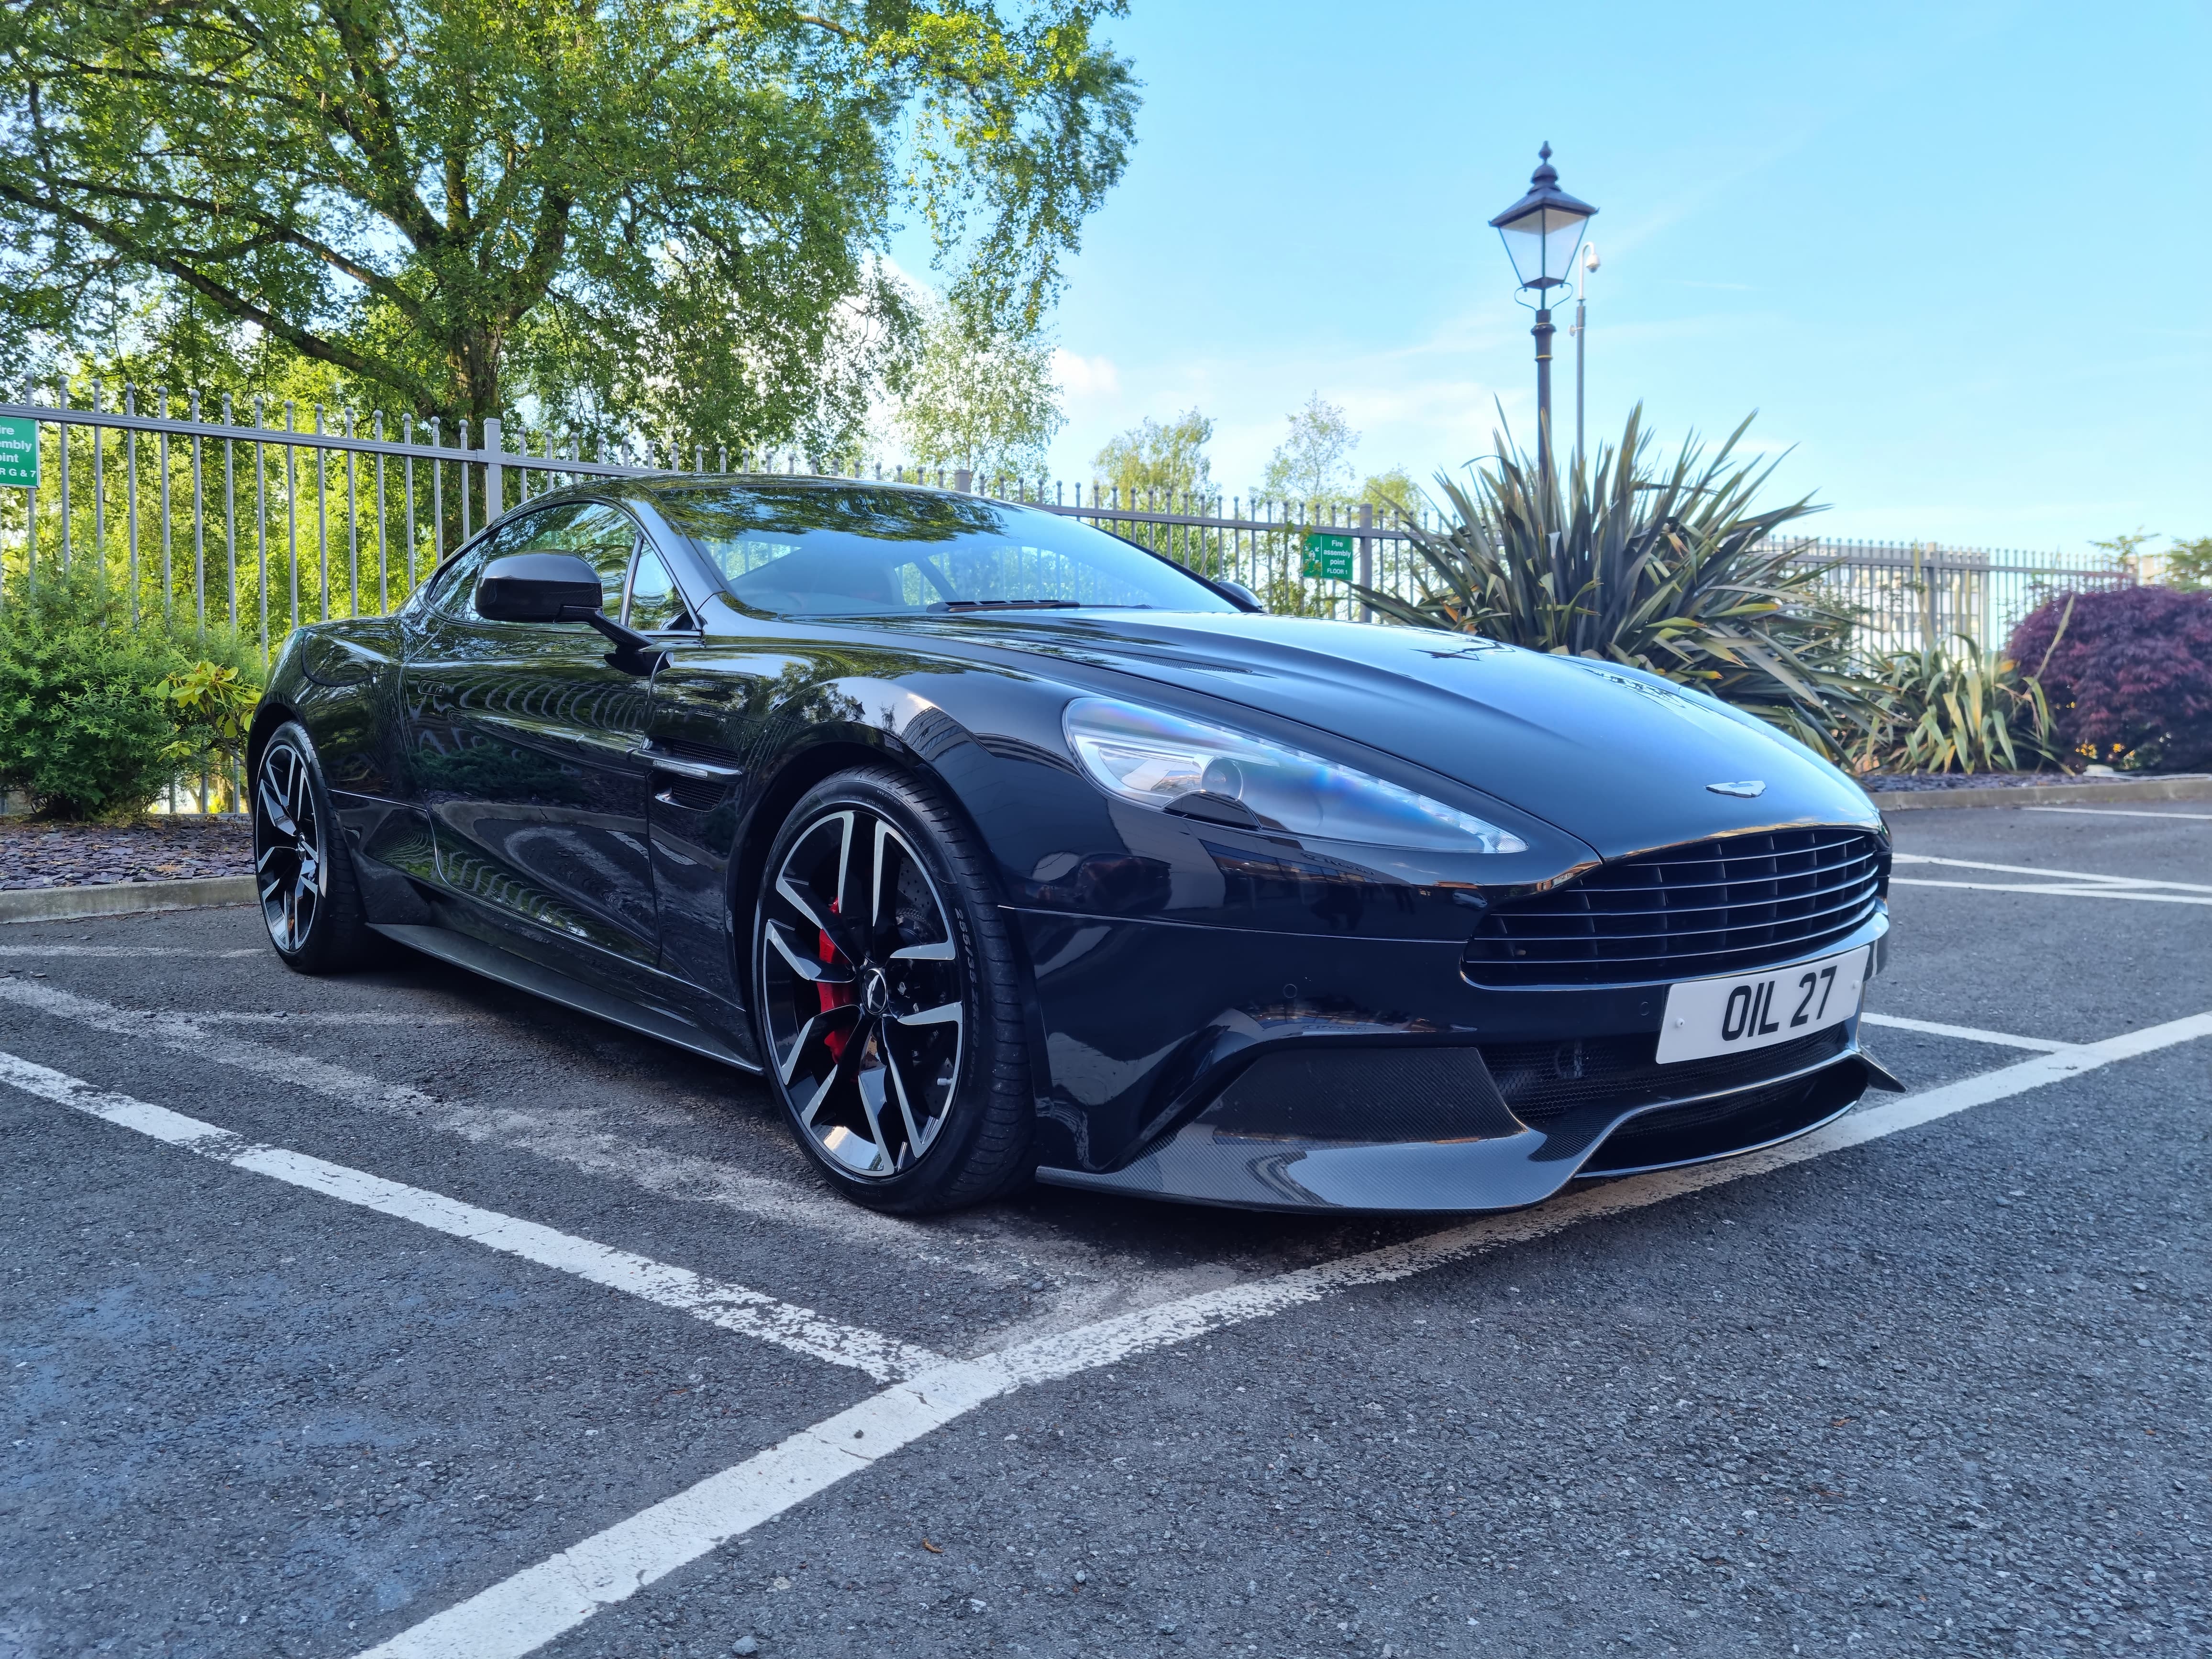
This week in the Car Gods detailing bay we had a very special visitor – an Aston martin vanquish! We caught up with resident master detailer Tom Alderson at Car Gods Niche, where he explained his approach to working on this beauty and gave us play by play of each step in his detailing process.
The PRE-WASH STAGE
The first thing we got to work on was cleaning the wheels. When detailing it’s important to clean the wheels first. They are generally the dirtiest part of the car prior to a wash due to brake dust and being the lowest part of the car. To clean these beautiful 20” alloys we first give a quick rinse. Once the wheels were free from loose dirt and debris, we liberally applied Car Gods Wheel Perfection cleaner. We left this to dwell for a few minutes to dissolve the dirt and iron deposits. This turns purple when it has reached maximum effectivity. As this car is well maintained, it only needed a light contact wash on the wheels. For those less than perfect wheels, a deeper clean with wheel barrel brushes and other detailing brushes are needed. 
Next, we moved on to cleaning the tyres, wheel arches, sills and other tough to reach parts of the car on the lower half. We used our powerful all-purpose cleaner, Car Gods Almighty Power, which works hard to break down any grease and dirt. In some difficult to reach areas, we used feather tip brushes to make sure that we cleaned as deeply as possible. We use the Almighty Power in conjunction with the appropriate brushes for the job to give the best results possible.
The next stage of our prewash prep was using the Car Gods Bug & Sap Remover on the front end of the Aston to dissolve and remove those caked-on bugs and sticky sap. We sprayed this liberally on the front end of the car and left to dwell for a couple of minutes. We turned on the pressure washer and rinsed all those remaining areas we have just covered to provide the best base for the next stage.

SNOW FOAM
Now the fun began! Locked and loaded in the Car Gods Snow Foam Cannon was our Car Gods Arctic Storm Snow Foam. Mixed in a 10:1 water to foam ratio, we covered the Aston in a thick foam helping to soften and loosen any dirt deposits left over from the prewash stage. After a few minutes of dwelling time, the snow foam is rinsed off to display a car ready for a contact wash!

THE CONTACT WASH
For the contact wash, we employed the tried and tested, 2 bucket method. We use this method to provide a contact wash on the vehicle, while reducing the number of swirls, scratches and imperfections put in the paintwork during this stage. This is often the result from a poor wash method. It’s simple, we have one bucket of clean fresh water for regular rinsing of the mitt and the second bucket has 50ml of Car Gods Pure Shampoo in it to lather up the car. We also had the Car Gods Grit Guards in the buckets to further reduce contaminants floating around in the water. We then wash the car from the top, working our way down to the bottom. Particular care was taken around the grilles and intricate details. If you haven’t used a wash mitt before, we highly recommend giving ours a try! After a final rinse it’s time to dry. Towels out and a thorough dry of the car including separate ones for the wheels and door shuts. The blower was brought in for the final details.
THE FINAL STAGES
Once we had then moved the car inside, Tom used our Car Gods Clay Bar & Lubricant to remove any last, finer grains of dirt trapped in the paint. This takes a little time but well worth the results. By claying the car, we have removed the last contaminants embedded in the paint and created a fresh canvas for the next stage. The machine polish! Using our Car Gods Pure Compound and a machine polisher, we moved panel by panel over the entire car removing any swirls, scratches, and defects in the paint. The final prep stage was a refinement polish using our Car Gods Wax of The Gods and a light setting to give us the perfect finish before we applied our coating. For our final stage, we sprayed the Car Gods Pre-Cleanse over the paintwork and wiped away to take away any particles sat on the car ready to apply the ceramic. This step is vital ensuring you have the best possible paintwork to apply the showstopper! Tom carefully worked the Car Gods Ceramico Ceramic Coating over each panel in an overlapping motion, one small area at a time. A little goes a long way here, so best not to apply too much. The ceramic coating leaves behind an unbeatable shine and provides incredible beading. All the hard work is now locked in and protected with a diamond like shield. After the coating had been applied, the Aston was left inside overnight (12 hours) to cure and fully harden. Allowing the ceramic to fully cure improves longevity and provides the car with that perfect result!

