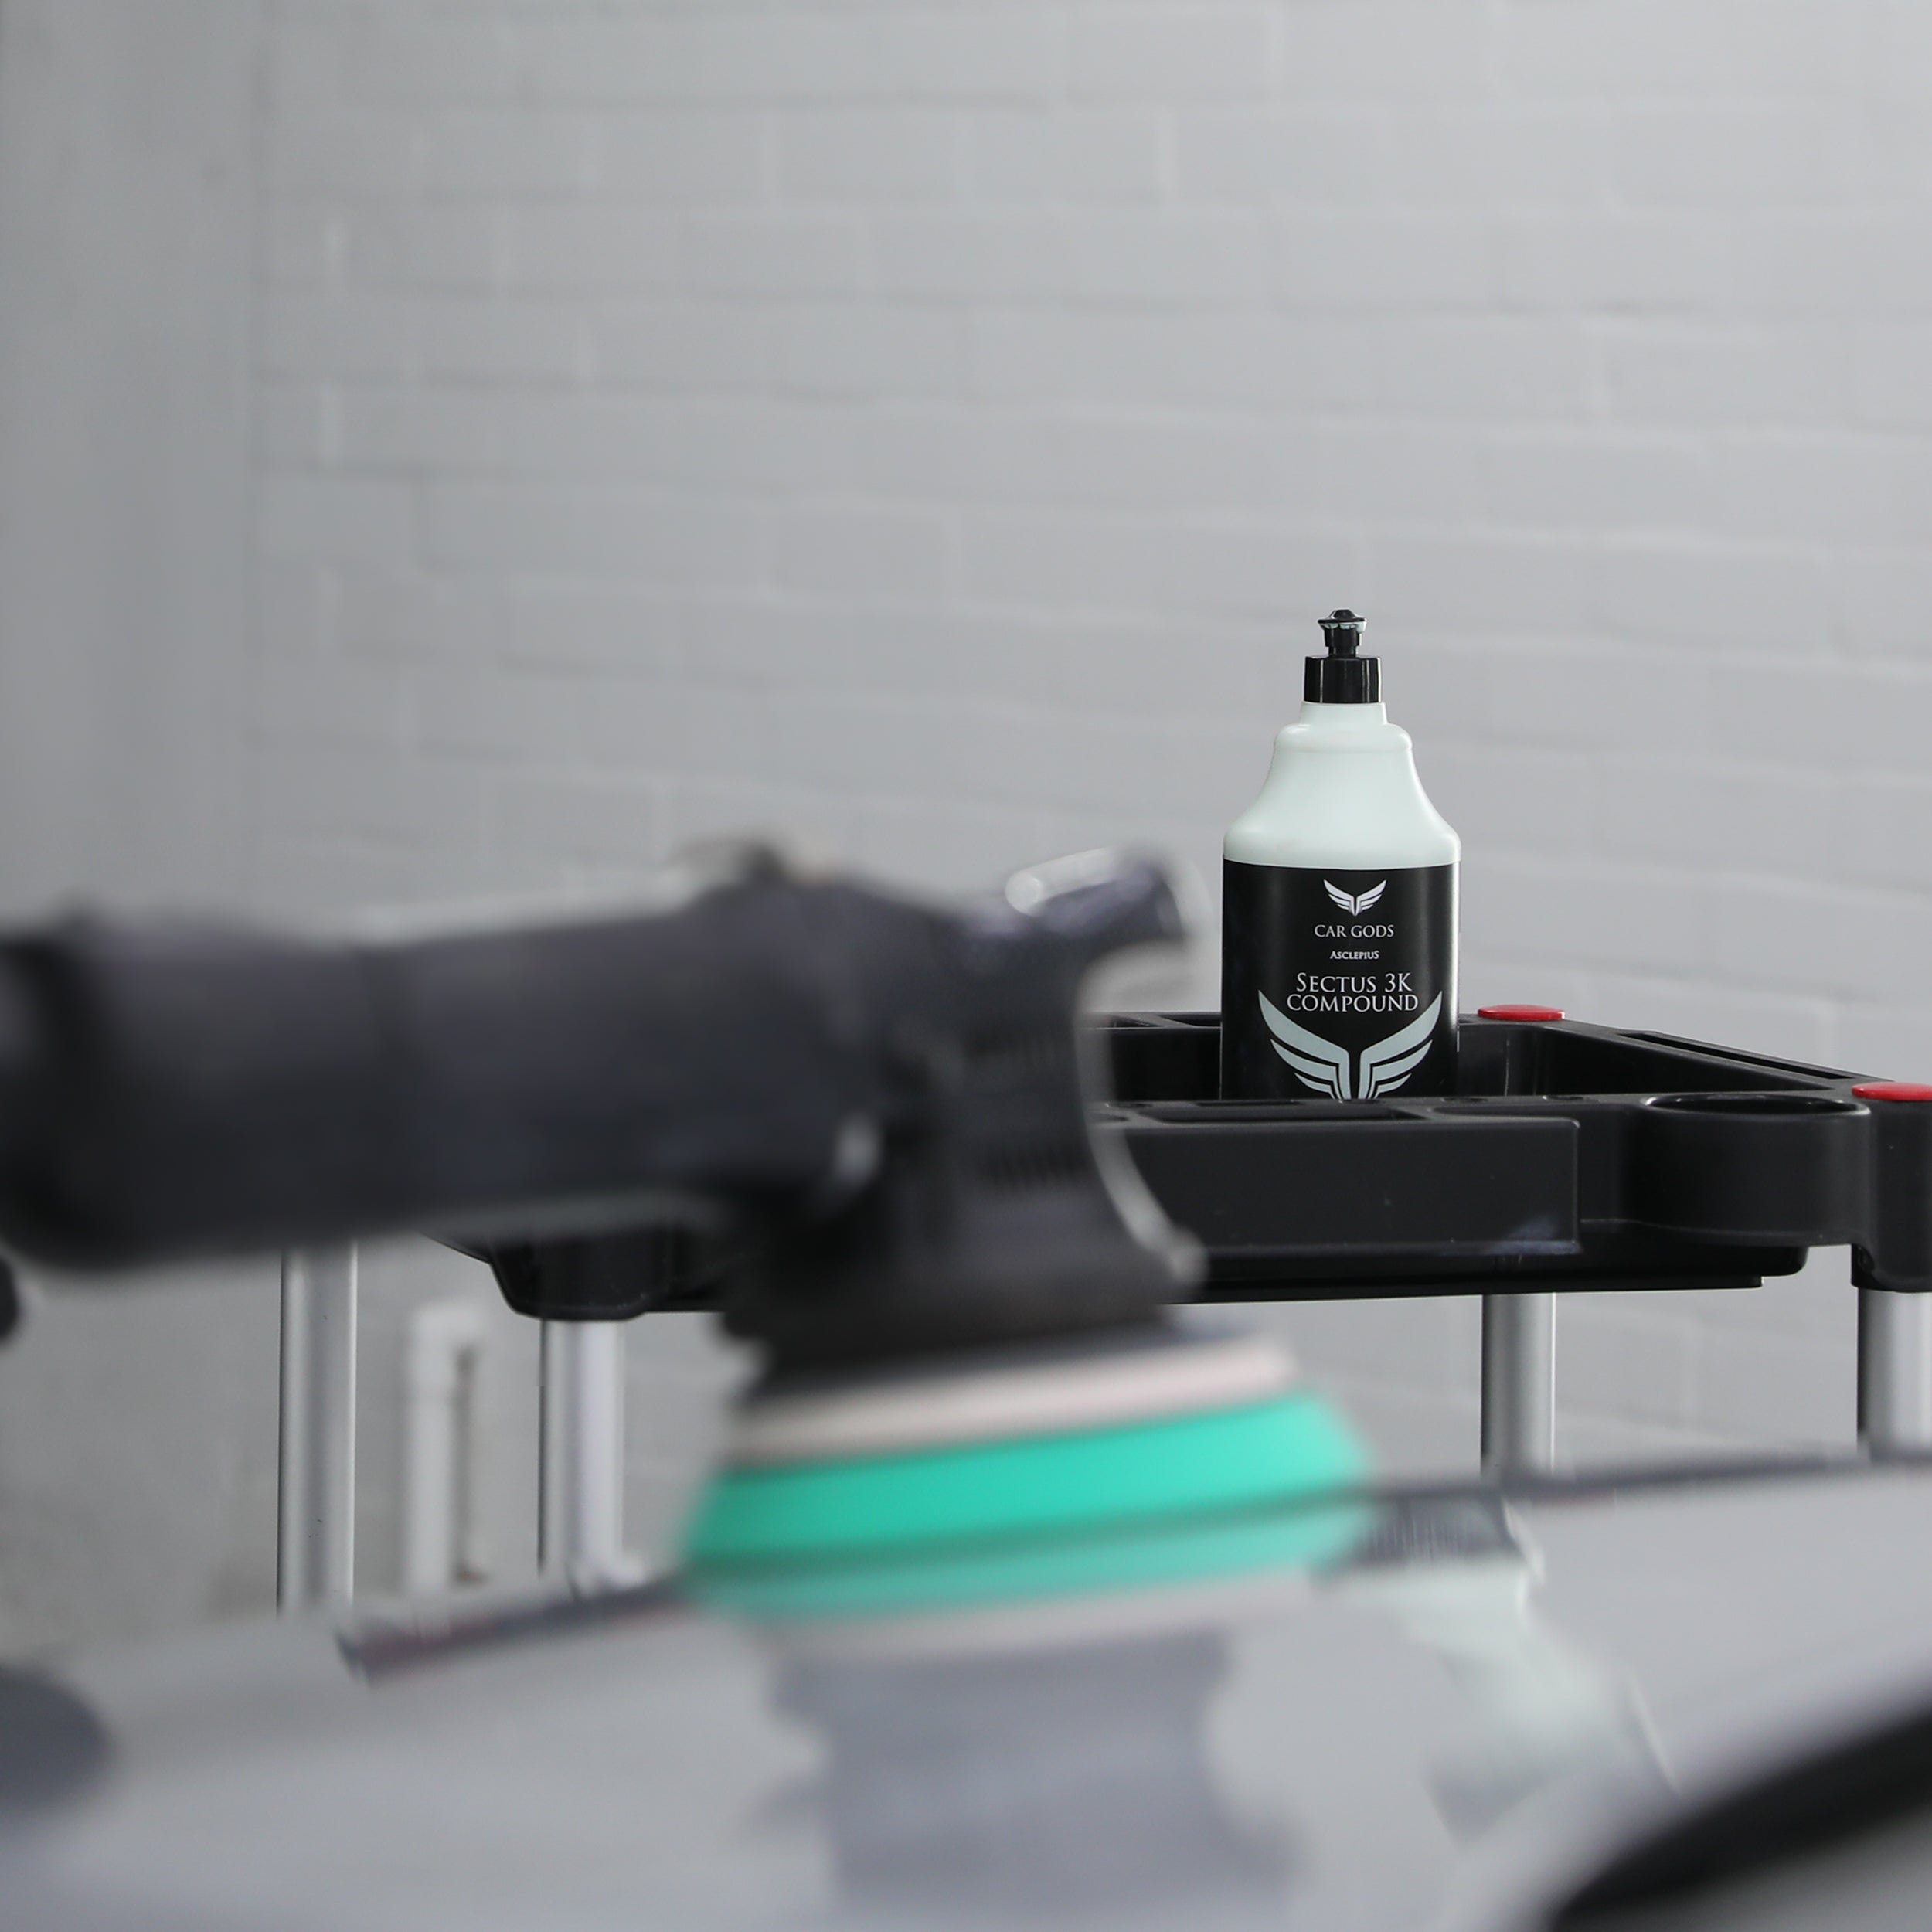
Machine polishing vehicles can be a big minefield, but whether you’re just starting out or want to whip over your Corsa at the weekend, Car Gods are here to help with a brief over view of the basics.
The below guide is based on you using a dual action (DA) machine polisher and a single stage gloss enhancing polish. The easiest route to better bodywork.

The theory behind an enhancement polish is just that: you want to enhance the appearance of the paintwork, improving gloss and clarity. We are not aiming for ‘correction’ and deep scratch removal.
You need to choose the correct pad and polish combination for the vehicle you are working on. Do a small test patch on the vehicle (use the bonnet as you have better coverage). Look at the result you get from a single pass (one polish over the area) and decide if this is an acceptable level of enhancement. You want to see a reduction in scratches and marks and improved clarity and gloss.

Using your DA machine isn’t something to fear.
The nature of the machine means that causing damage is highly unlikely. The head of the machine spins and oscillates: a dual action. This means even someone new to polishing can be confident of achieving the best results.
Always make sure the pad you use is clean, dry, and correctly centred onto the machines head. Next, you need apply 4/5 pea size amounts of compound around the pad. Then, working to a small area at a time (split a bonnet in to quarters for example), dab the polish onto the surface so the majority is transferred onto the panel.
Starting your machine at speed 1, and moving in linear motions, start to work the compound onto the panel. Pick a point to start, move in linear motions, and finish it that same spot, then back again in the opposite direction which forms the cross-hatch method.
This will ensure you have covered the whole area you mapped out for this pass and increases the finished quality of the paintwork. Do this for each speed of the machine. The compound should go from being quite milky, to almost transparent. This is how you know you worked the compound to a level where it will have done its job.

Once you have done this, wipe away the access compound with a soft microfibre and see the results. If you are unhappy with the finish, consider moving the machine more slowly, use a firmer pad OR higher cut compound. Only ever change one variable at a time, so you know when you do achieve the results you require, which variable it is has worked for you.
Always polish to and edge, and never over. This will protect your pad and paint is thinner nearer an edge, we don’t want to burn through paint!
You may wish to mask up sensitive areas, such as rubber trim, unpainted plastic, and round badges. This will stop polish residue going into and onto these areas. It also protects these areas from any damage from the machine polisher and pad.
Always remove compound from each area you polish as you go. Once you have completed the whole vehicle, then wipe down all polished areas with Panel Spray to remove residue and allow your chosen coating to adhere directly to the bodywork.
We're always here to lend a hand, so if you're ever in doubt, drop us a message on Instagram or email us at info@cargods.com.
You can find our whole compound and correction range here.
Better still, we offer training courses to get you up to speed and build you confidence in your detailing skills. Book through our website and we'll be in touch to arrange a date that works around you.
I've been Tom, and that's detailing.

