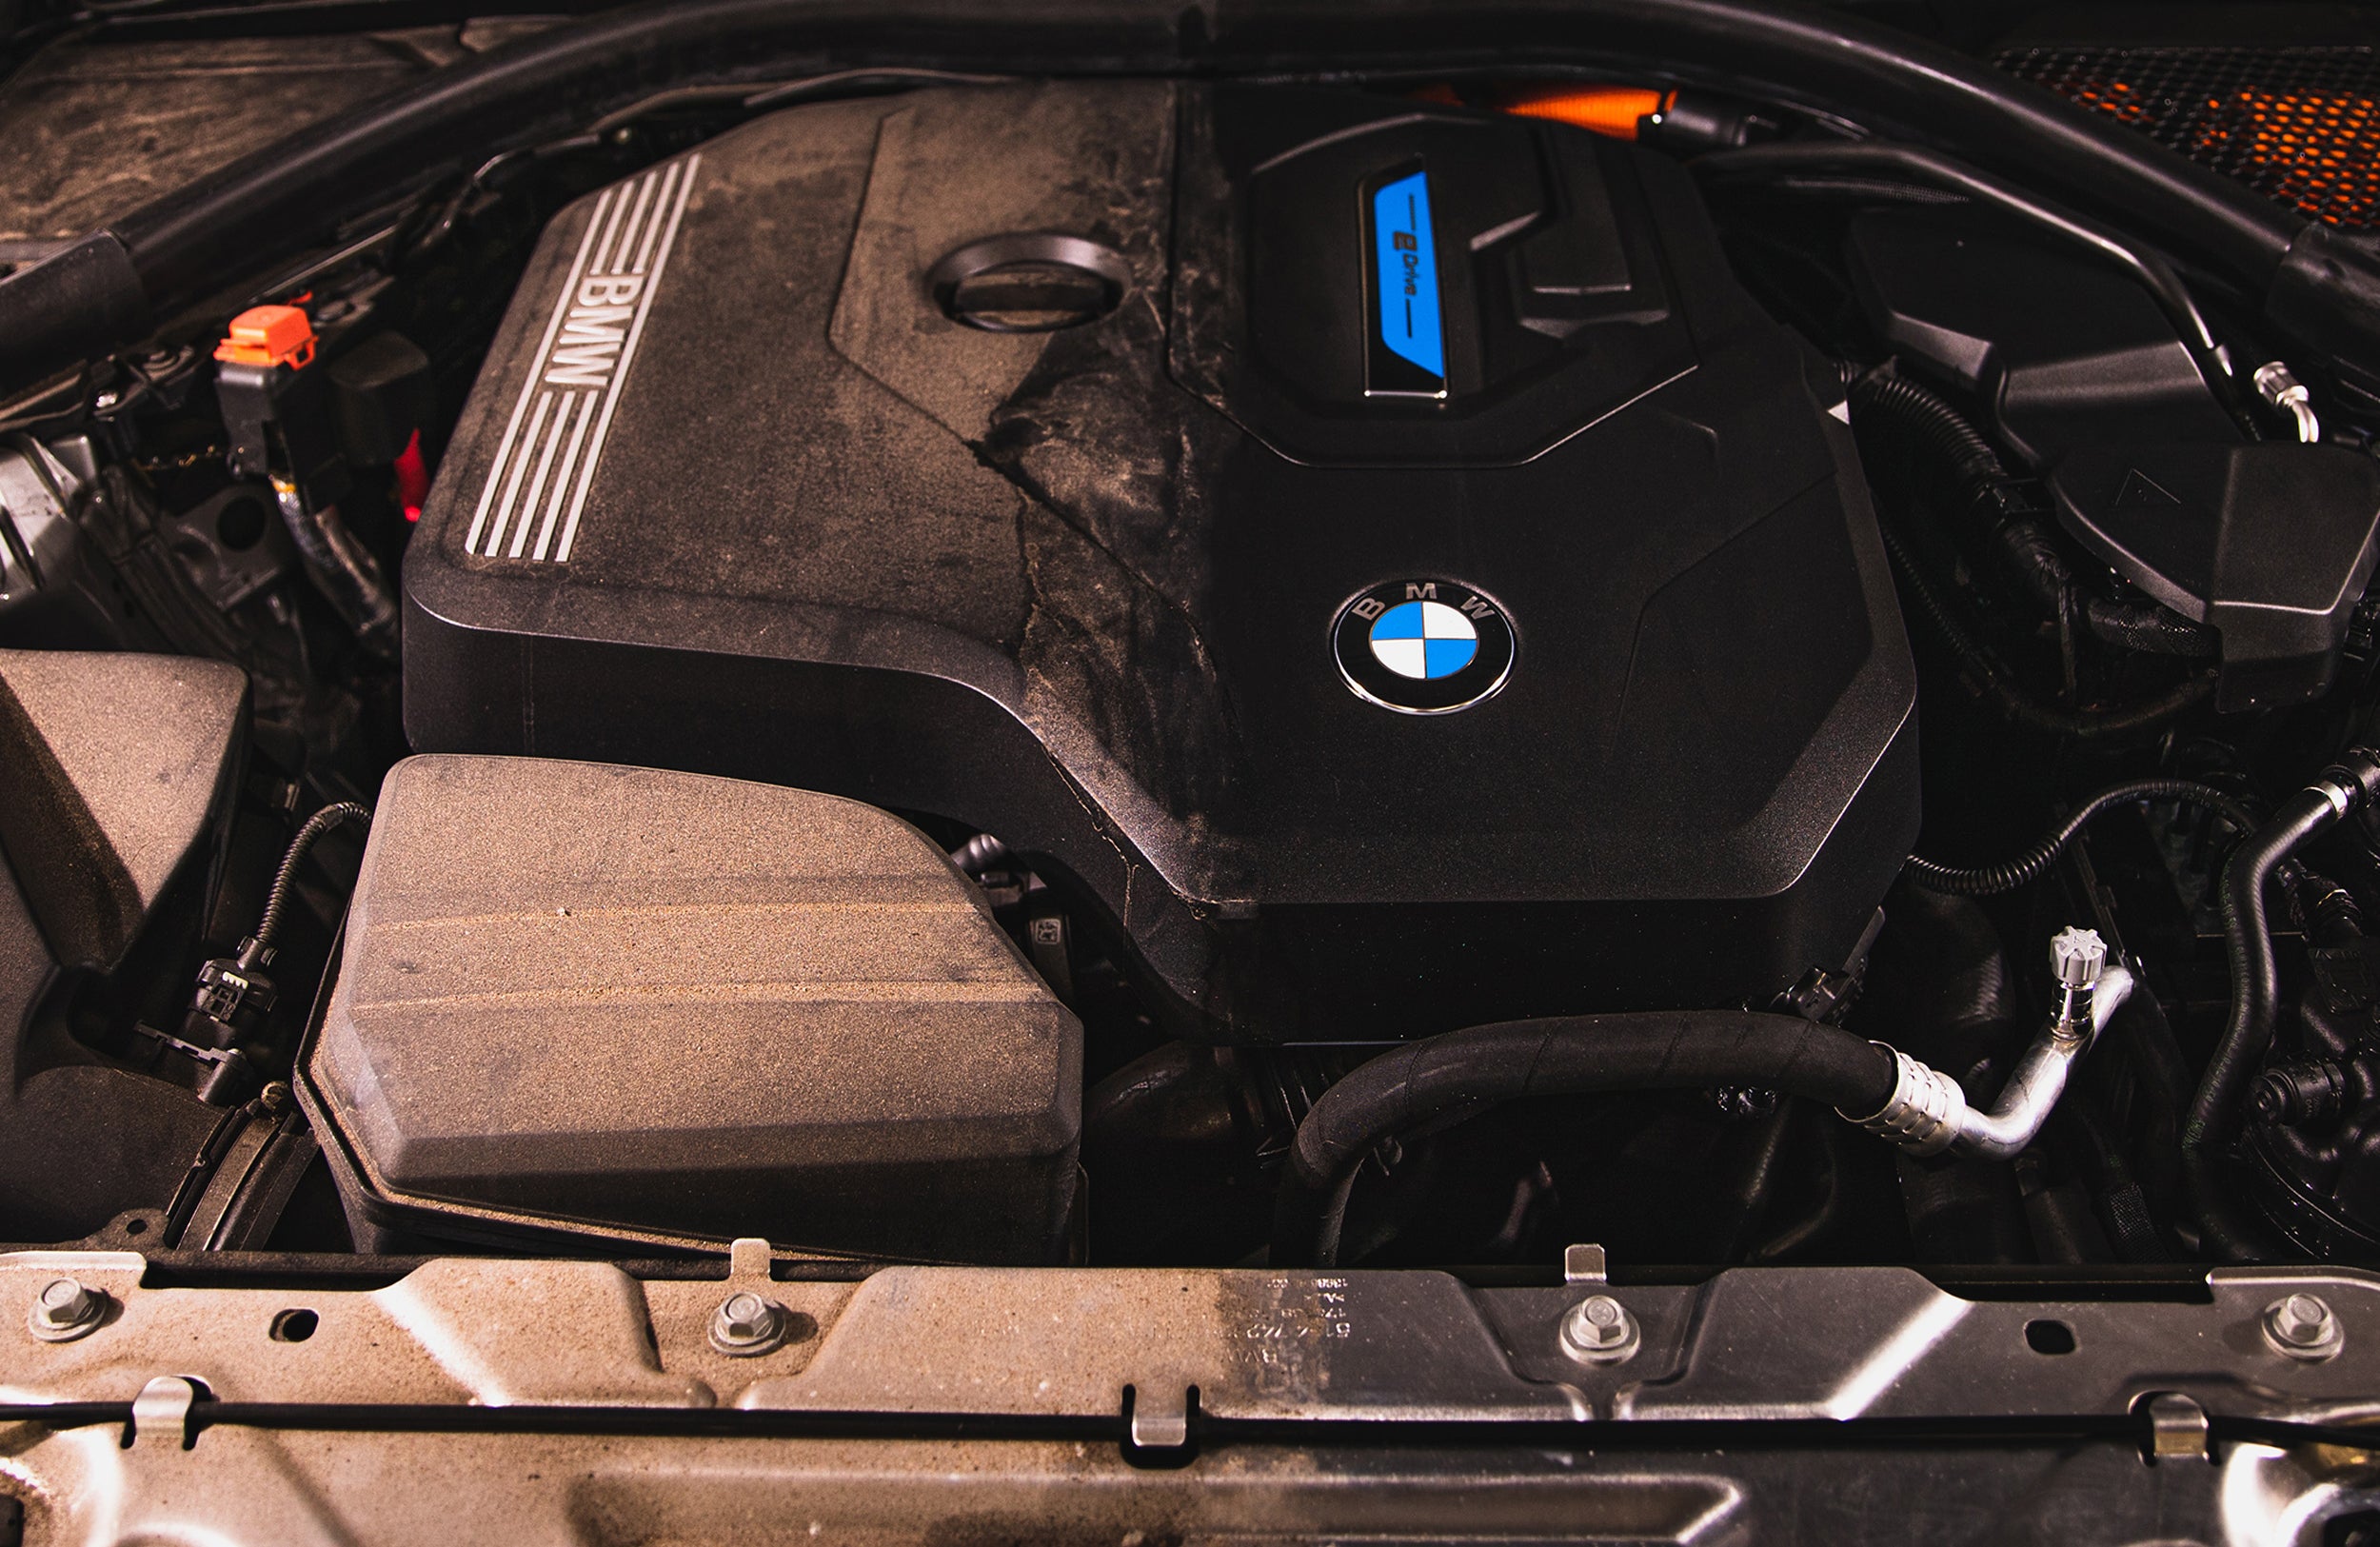
The engine bay is easily one of the most overlooked areas of our car when it comes to cleaning; why bother cleaning something that we can’t see most of the time? Let Car Gods provide the answer. Over time dirt, grime and grease builds up beneath the hood of your car, and if not treated properly it can cause serious damage such as blocking air intake, engine breakdown and reduce your battery performance. Not only will cleaning your engine bay help to prevent these problems before they occur but can also help you identify additional issues more easily when looking at a cleaner space. So how do you clean your engine bay? Let us show you how!
WHAT SHOULD I USE TO CLEAN MY ENGINE BAY?
When cleaning your engine bay we recommend using a specialist cleaner or degreaser. Not only will your engine bay accrue dirt and dust over time but there will also be sludge and grease deposits which standard cleaning products will not be able to break down. You can use household degreasers, industrial degreasers or purpose made degreasers to appropriately clean the engine bay. An engine cleaner like our Bay Immaculate Cleaner is a chemical additive designed to clean accumulated dirt, grease deposits and sludge from your car and is what we would most recommend using. You should clean your engine bay every 3 – 6 months to prevent grime build-up and stay ahead of potential blockages.
HOW TO USE BAY IMMACULATE ENGINE CLEANER
Step 1: Ensure that the engine is cool before cleaning or applying any engine cleaning products and degreasers. This is because the hot components could not only burn you when attempting to clean the area but can also cause the chemical agents to evaporate before they have a chance to breakdown stubborn sludge or grease.
Step 2: Traditionally powerful cleaning agents will come in a trade size such as 5 litre bottles therefore before applying to your engine bay compartment you will want to pour the contents into a spray trigger bottle. You will want to use a funnel for those who don’t have a steady hand to make sure that you don’t spill any of the product. Always refer to the engine cleaner or degreaser bottle for safety instructions.

Step 3: Before getting started with your prepped engine cleaner, you will want to cover any electrical components and air filters with waterproof tape or plastic film to make sure that they stay protected from any of the engine cleaner breaching them or water when rinsing off the engine bay later.
Step 4: Take your engine cleaner spray or degreaser and apply evenly across the engine bay, ensuring that you are getting a decent coating directly on each area. Once sprayed you can leave the product to settle on the engine allowing all the dirt, grease and grime to be loosened from the car’s engine bay for an easier rinse off.

Step 5: If you can identify any congealed sludge or grease stains then a few extra sprays on this area will help to breakdown these tougher deposits. Use a firm tipped detailing brush for plastics and a feathertip detailing brush for any emblems to agitate the engine bay cleaner or degreaser to loosen the dirt and grime, this will allow for a more thorough clean.
Step 6: Once the product has had an appropriate time to settle and you have agitated the rougher deposits with a brush you are ready to rinse off the area. Ensure to spray down the entire engine bay, taking care for the covered electrical components, and make sure all the degreaser and engine cleaner product has been removed. We recommend using a low-pressure hose when washing off the product as a high-pressure hose could damage more fragile parts of the car.
Step 7: Once all the product has been rinsed off out of the engine bay then you can leave the compartment to dry or dry manually with a microfibre cloth or towel.

